Now that GoPro has released their latest stroke of genius, the Hero 7, there are literally no more limits to the content you can create.
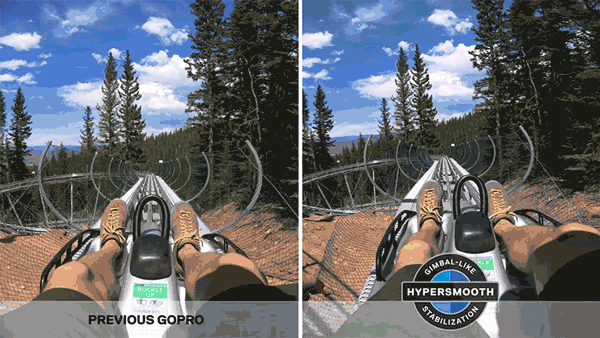
With insane new features such as voice control and live streaming, this handy little device is now waterproof down to 33ft, while also allowing you to shoot hyper-smooth video and capture time lapses on the move.
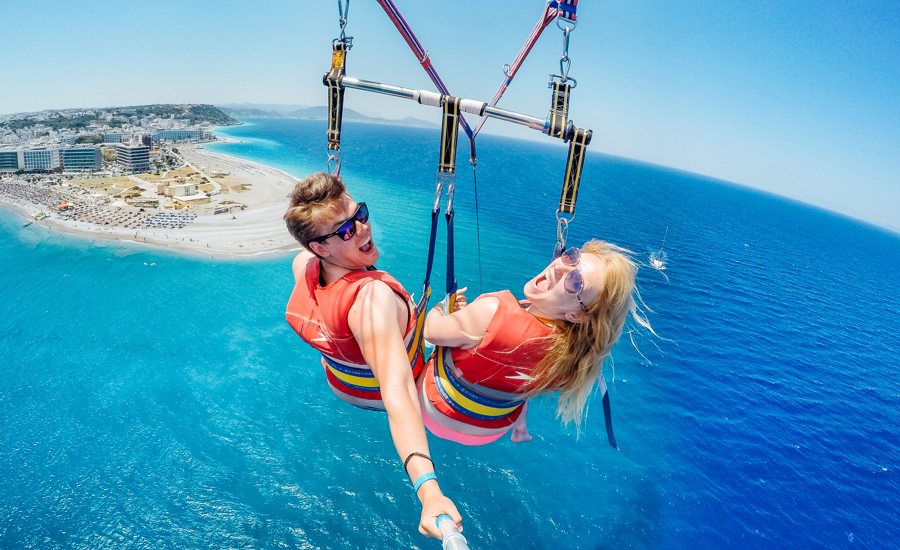
GoPro doesn’t just give your content a new perspective – it actually gives your followers a new perspective by taking them on mind-blowing experiences through your eyes, in insanely high quality.
If you want to take your content to the next level, here’s how to go pro.
Get The Gear
GoPro is more than just a durable lil’ camera, it’s also incredibly versatile. You can capture a wide range of snaps, with plenty of gear and accessories available to help you do it!
Depending on what niche you’re in, getting the appropriate accessories will go a long way when starting out. Here are the top three to consider:
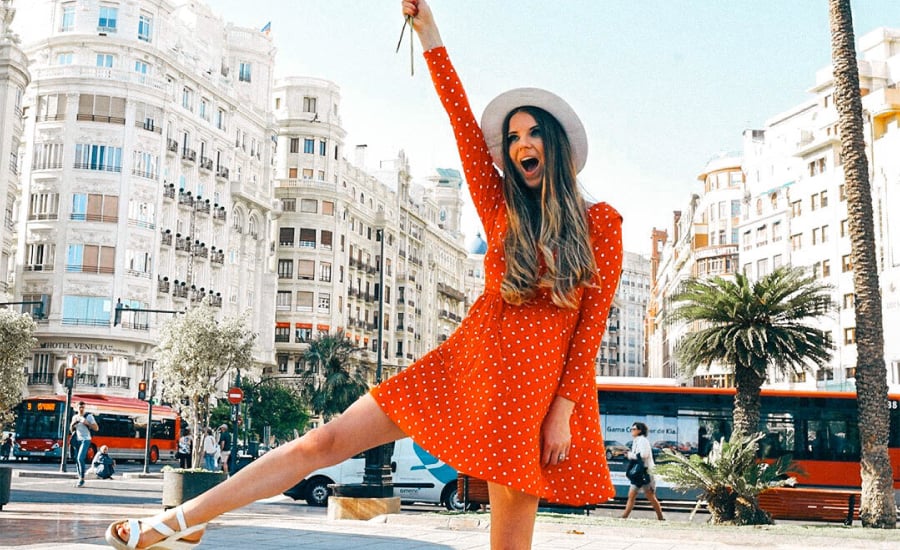
Selfie-click: Take the hassle out of your hustle! This classic tool is perfect for capturing those magical, otherwise impossible to capture moments.
Tripod: The first step for creating great GoPro footage is keepin’ stable! A tripod will help you snap those flat lays, epic time lapses, steady shots, or self-timer images.
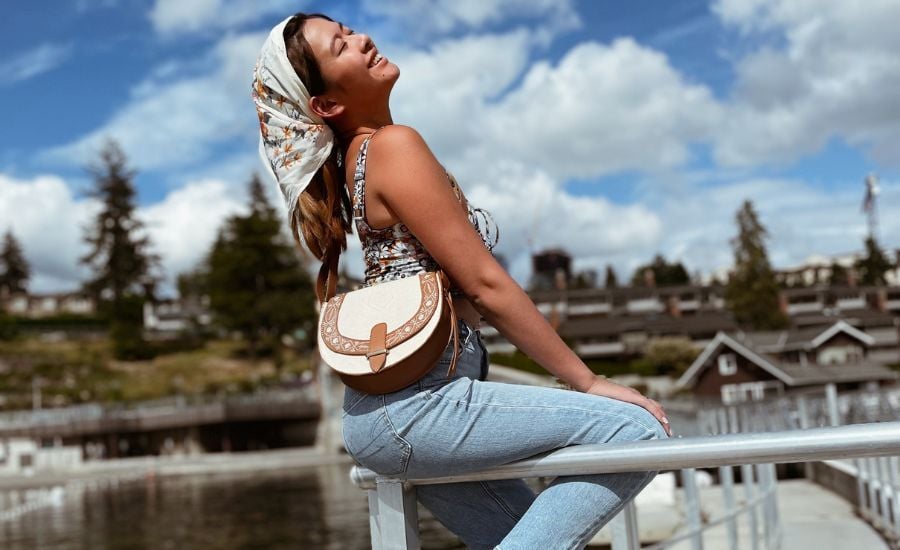
Body-Strap/Head-Strap: The ‘point-of-view’ shot is characteristic of GoPro footage, so show your followers the world through your eyes!
We’d recommend investing in one or two of the above to help you enhance and embrace the adventure! But if you’re looking to mount the GoPro for activities such as surfing, biking, skateboarding - you’ll need more specialized equipment.
Download The app
Did you know you can easily pair your GoPro with your smartphone?! This is a MUST for editing and uploading to your socials, as shown in GoPro’s how to.
Pairing your GoPro to your phone is a game changer for influencers, where you can easily preview your shots and control your GoPro remotely. It’s also easy as pie to save and upload images and videos so you can create content on the fly.
You can also use GoPro in your Insta Stories! The ‘Quik’ app now has a feature called ‘QuikStories’, which automatically slices up a video for your Insta story, even allowing you to add music. This is a super unique way to lift your Insta-game and keep followers coming back for another slice of the action.
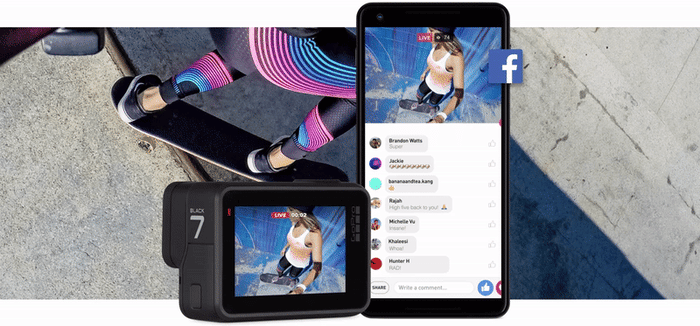
And if that's not enough, the new Hero 7 allows you to live stream right to your socials!
Go Fisheyeing
The GoPro’s fisheye effect allows for extreme wide-angle shots to cram more into your shot and give it an eye-catching point of difference. When scrolling through your Facebook or Instagram feed, a fish-eye photo or video is literally thumb-stopping!
If fish-eye ain’t yo’ style, there are ‘defishing’ tools that can correct your images in post-production, however medium and narrow modes are also available.
We call these modes ‘field of view’, and there are three main types:
• Wide/Ultra-Wide: 170 degree angle (Big fisheye effect)
• Medium: 120 degree angle (Slight fisheye effect)
• Narrow: 90 degree angle (Shoots pretty much like a DSLR camera or your iPhone)
You can switch modes in the app or on the GoPro itself.
Find Your Settings
The GoPro has a multitude of settings to help you make the most of every moment. Here are just a few of the things you can tweak to put the Pro in GoPro!
Depending on the model of your GoPro, you may or may not have access to the full range of settings, so have a scan through first to get familiar with it:
Frames Per Second (fps):
Set your GoPro to 24-30 fps for optimal quality and minimal video size – you won’t notice a difference with anything higher than this, unless filming for slow-motion effect.
White Balance:
White balance determines the ‘color temperature’ of your footage and adjusts the lighting accordingly. It’s usually just easiest to leave this in auto.
If you want to play around with the white balance to achieve a specific effect, start at 3k (the lowest setting), and manually work your way up towards 6k (the maximum).
Low-light:
This setting automatically detects low-lit settings, and adjusts the fps (frames per second) accordingly if things get too dark. It’s handy to leave this setting on, especially if you’re recording for an extended period of time (like for a time-lapse).
ProTune:
This setting removes all extra modifications that GoPro automatically adds to photos. This leaves your footage as raw as possible so that you can do more in post-production.
Spot Meter/Exposure Control:
In older models (Hero4 or earlier), the Spot Meter function automatically adjusts exposure to accommodate for uneven lighting – such as during a sunset. It’s best to leave this on unless you’re filming in a well-lit location.
In the HERO5 or later, you’ll see instead the ‘exposure control’ option. You can simply tap the GoPro screen to instruct it where to focus, giving you more control over the lighting of your photo!
Resolution:
While shooting at 2.7k or 1080p is fine for social media, especially if you’re travelling, the GoPro’s resolution can be upped to 4k (4000 megapixels) for super high-res-ults! This is perfect for stills or time-lapse vids, but if you’re shooting in slow-mo, leave the resolution at 1080p and up the frames per second to 60fps!
Start Shooting
Now that you’ve got all the tools you need to capture stunning GoPro footage, there’s just one thing left to do – go adventuring! The possibilities are truly endless, so it’s helpful to plan in advance what campaigns and products you’d like to capture and in what locations. A GoPro is the perfect excuse to explore the world AND create stunning content, so what are you waiting for?!
Ready, Set, GoPro!